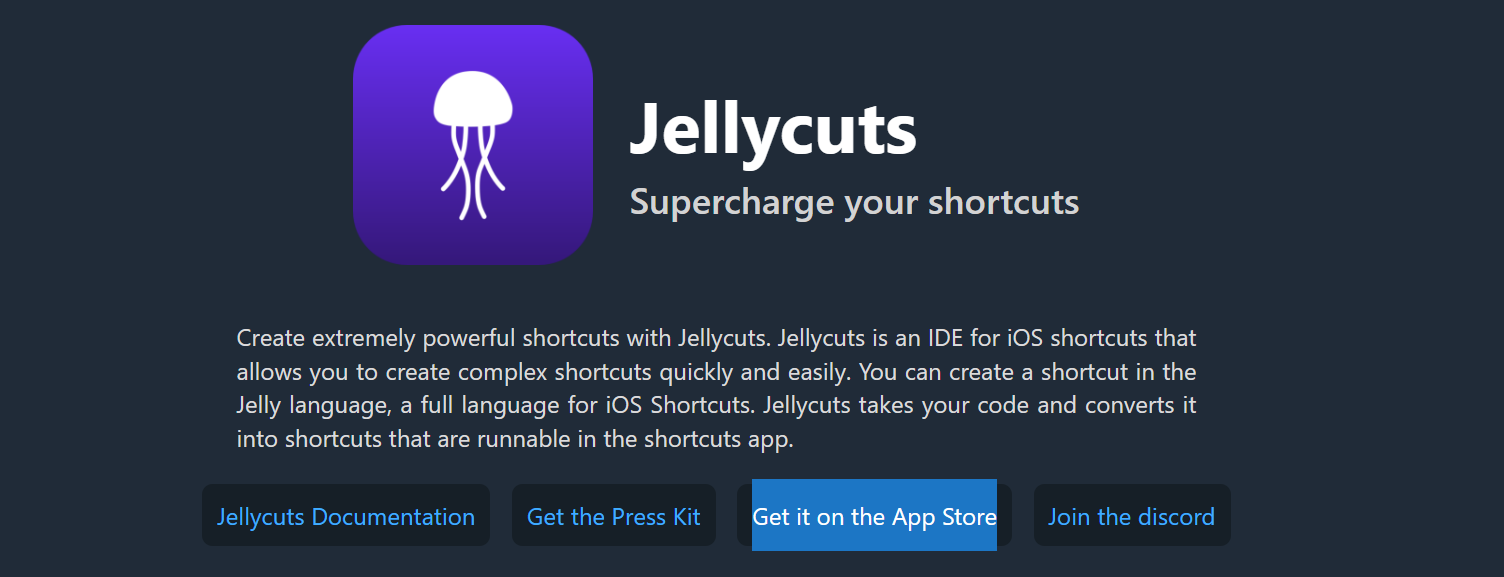
Getting started with Jellycuts: a development environment for Apple shortcuts
Lately, we've been writing about the IDEs available for shortcuts, and we've interviewed several significant developers who have done extraordinary work. Our most recent interview was with ActuallyTaylor, the developer behind Jellycuts. Although we assume that everyone in the Apple Shortcuts community knows about Jellycuts, we believe there are many new enthusiasts who may not yet be familiar with Jellycuts or its full potential. That's why we decided to write about what Jellycuts is and how to get started with this IDE.
What is Jellycuts?
Jellycuts is a revolutionary Integrated Development Environment (IDE) specifically designed for iOS Shortcuts. It provides an alternative to Apple Shortcuts' conventional block-based development, offering an environment familiar to most developers.
Through the Jelly Language, any developer can start writing lines of code and then compile their creations to test them in the Apple Shortcuts app.
With Jellycuts, users can leverage a robust code editor equipped with features like syntax highlighting and line numbers, making code comprehension and debugging easier. The seamless integration of the editor with iOS devices ensures a smooth development experience, allowing users to edit and test their shortcuts on the fly.
How to Get Started with Jellycuts?
There's nothing better than diving in and trying things out for yourself to fully understand something. In the case of Jellycuts, you don't realize how powerful it is until you start code with it.
Here, we'll explain in a simple and straightforward way the first steps to start using Jellycuts. The Jellycuts IDE is available for both Mac and iOS, but perhaps the most accessible way for many users is through iOS, so we'll focus on that.
Download and Installation
The first step is to get Jellycuts on your iOS device. Go to jellycuts.com, download, and install it on your device.
Starting with Jellycuts App
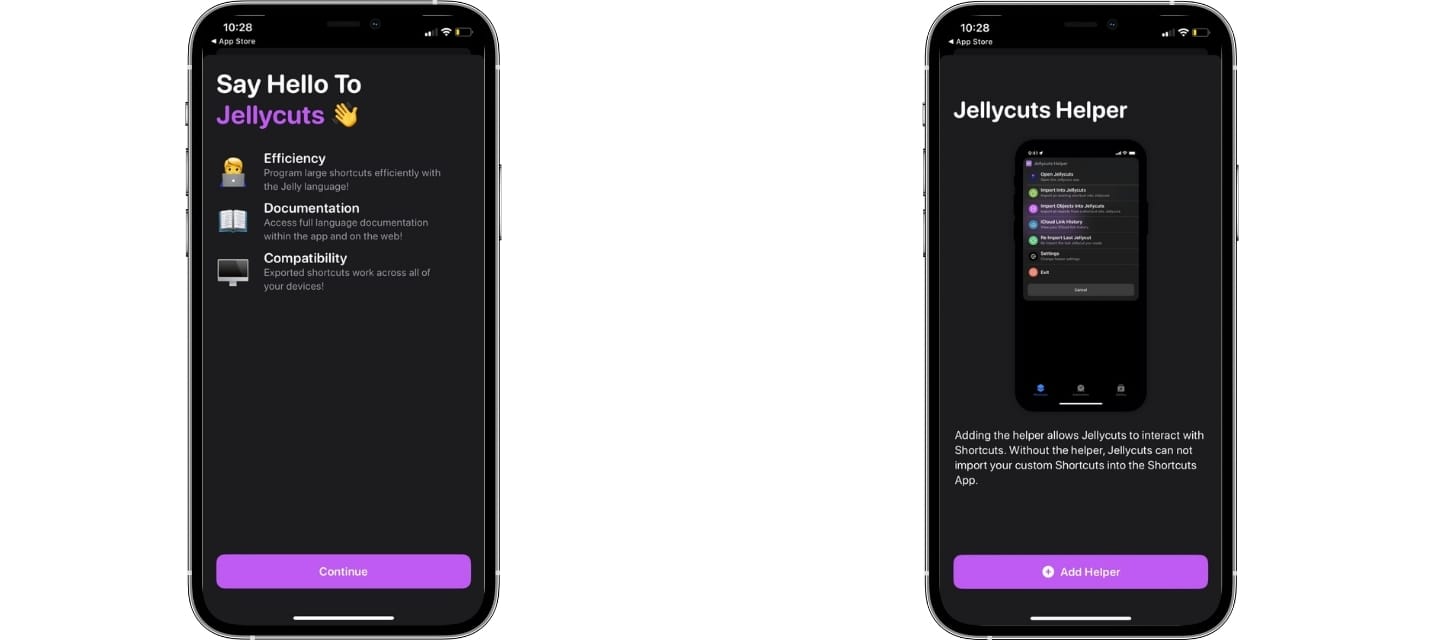
When you open Jellycuts for the first time, you'll be greeted with an introduction to the app. Take a moment to read the developer's instructions and add the "Jellycuts Helper" shortcut. You'll soon discover that everything is designed to make creating and editing shortcuts easy.
Create Your First Shortcut
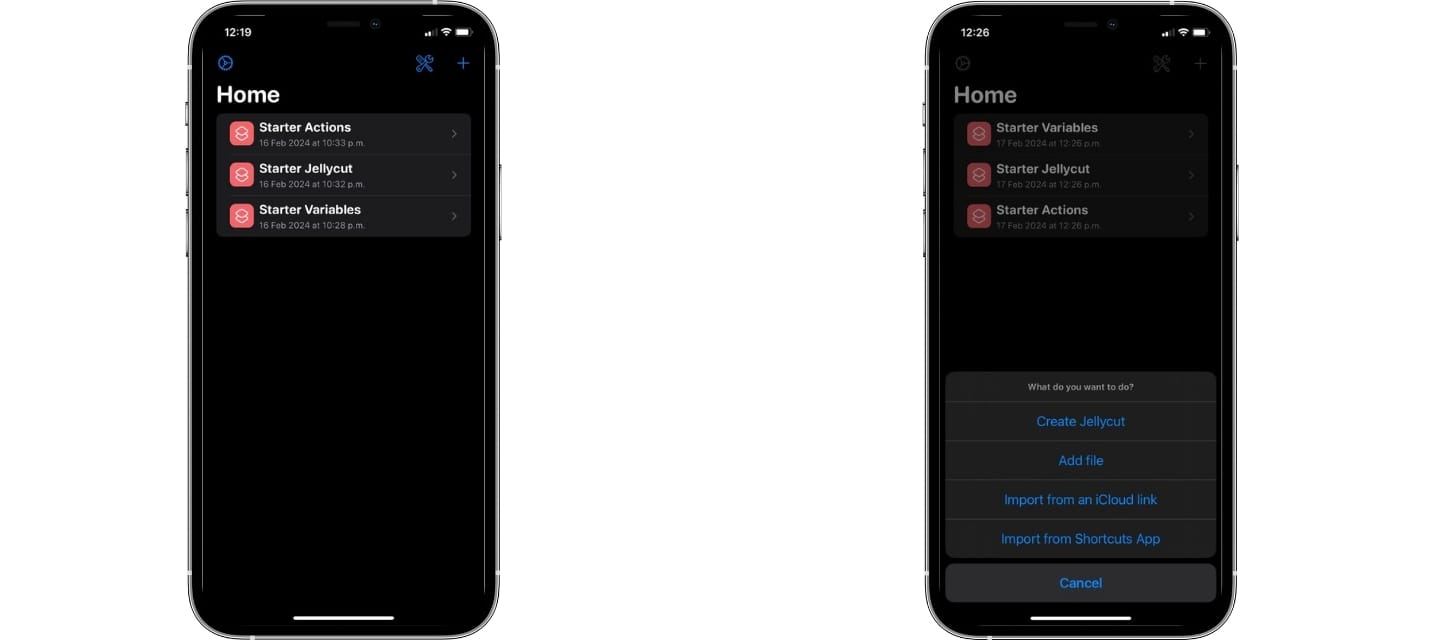
Now that you're familiar with the Jellycuts app, it's time to get started and create your first shortcut. We suggest exploring the provided shortcuts that serve as guides for better understanding.
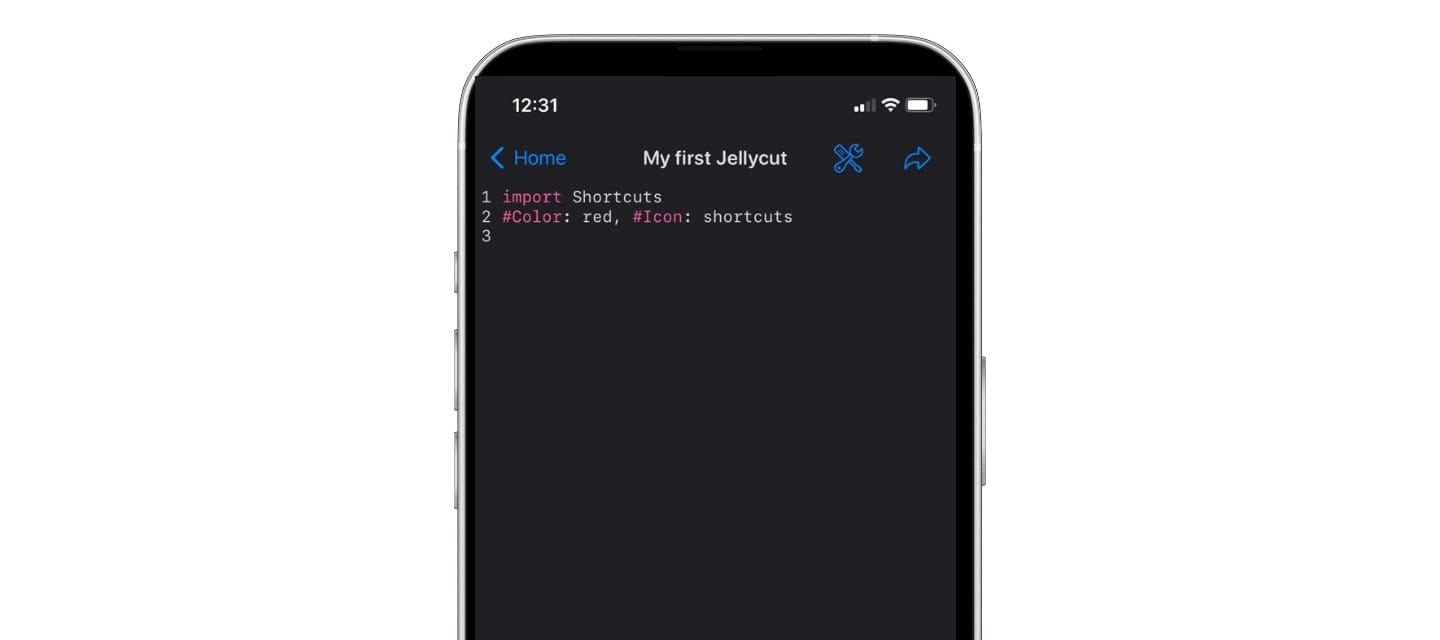
Press the "+" button to create a new shortcut. You'll see several options besides just starting to create your first shortcut. Select "Create Jellycut," give your new creation a name, and you're ready to go.
Development Environment
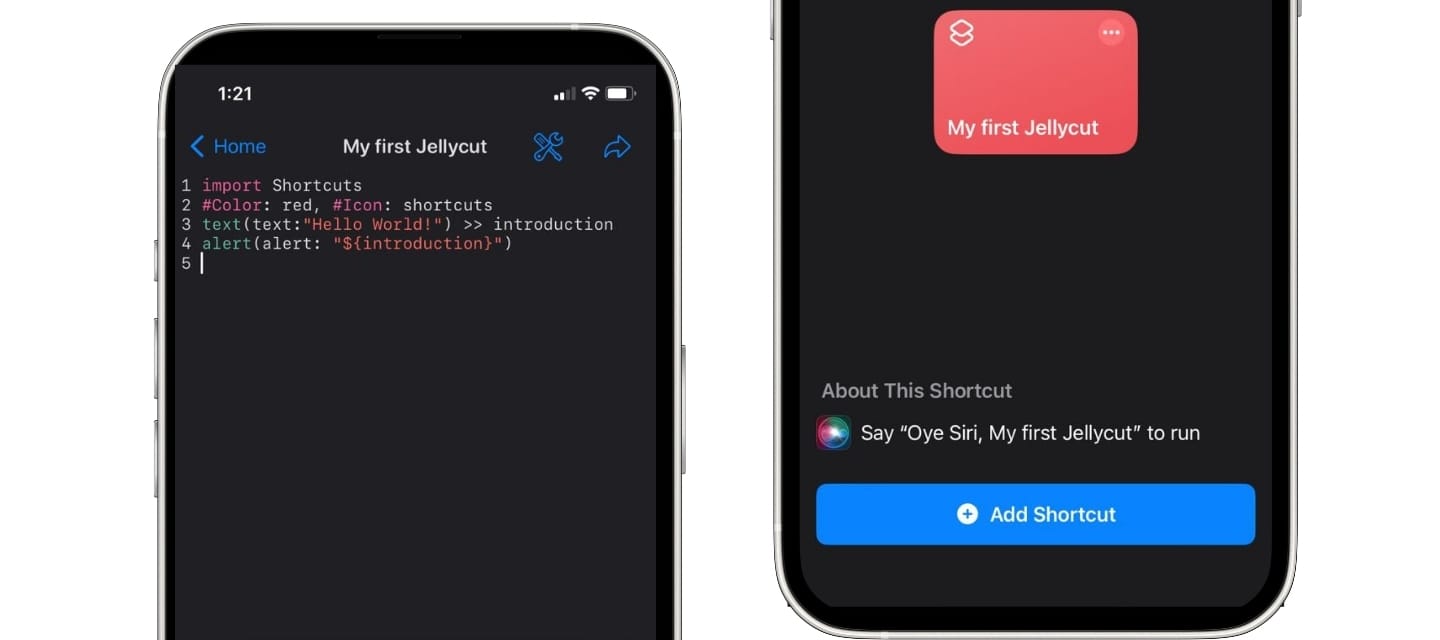
Once everything is set up, you can start coding in the Jelly language in the Jellycuts code editor. For more details, you can read the Jellycuts documentation, which is comprehensive and well-explained. We specifically used the first script example from the documentation.
Export Your First Shortcut
Now, simply export your shortcut. Jellycuts will compile your code, and with the help of the "Jellycuts Helper" shortcut that we added earlier to our library, it will add our first Jellycut to our shortcuts library, from where we can run and test it.
We highly recommend reading the Jellycuts documentation; it's a powerful tool for developing shortcuts, and all shortcut enthusiasts should use it at some point.