Create Custom GIFs with Jellycuts and Apple Shortcuts
Would you like to make a GIF from your favorite photos directly on your iPhone? With Jellycuts and Apple Shortcuts, you can do it easily and quickly. In this article, we'll show you step-by-step how to create a shortcut in Jellycuts that allows you to select photos, define the frame time, and save the GIF with a custom name.
Step 1: Install Jellycuts
First, make sure you have Jellycuts installed on your iOS device. You can download it from the App Store.
Step 2: Create the Shortcut in Jellycuts
Follow the steps below to create your shortcut.
1. Open Jellycuts
Open the Jellycuts app on your iOS device.
2. Create a New Shortcut
- Tap the "+" button in the top right corner.
- Select "Create Jellycut".
- Name your Jellycut "GIF Maker".
3. Configure the Shortcut
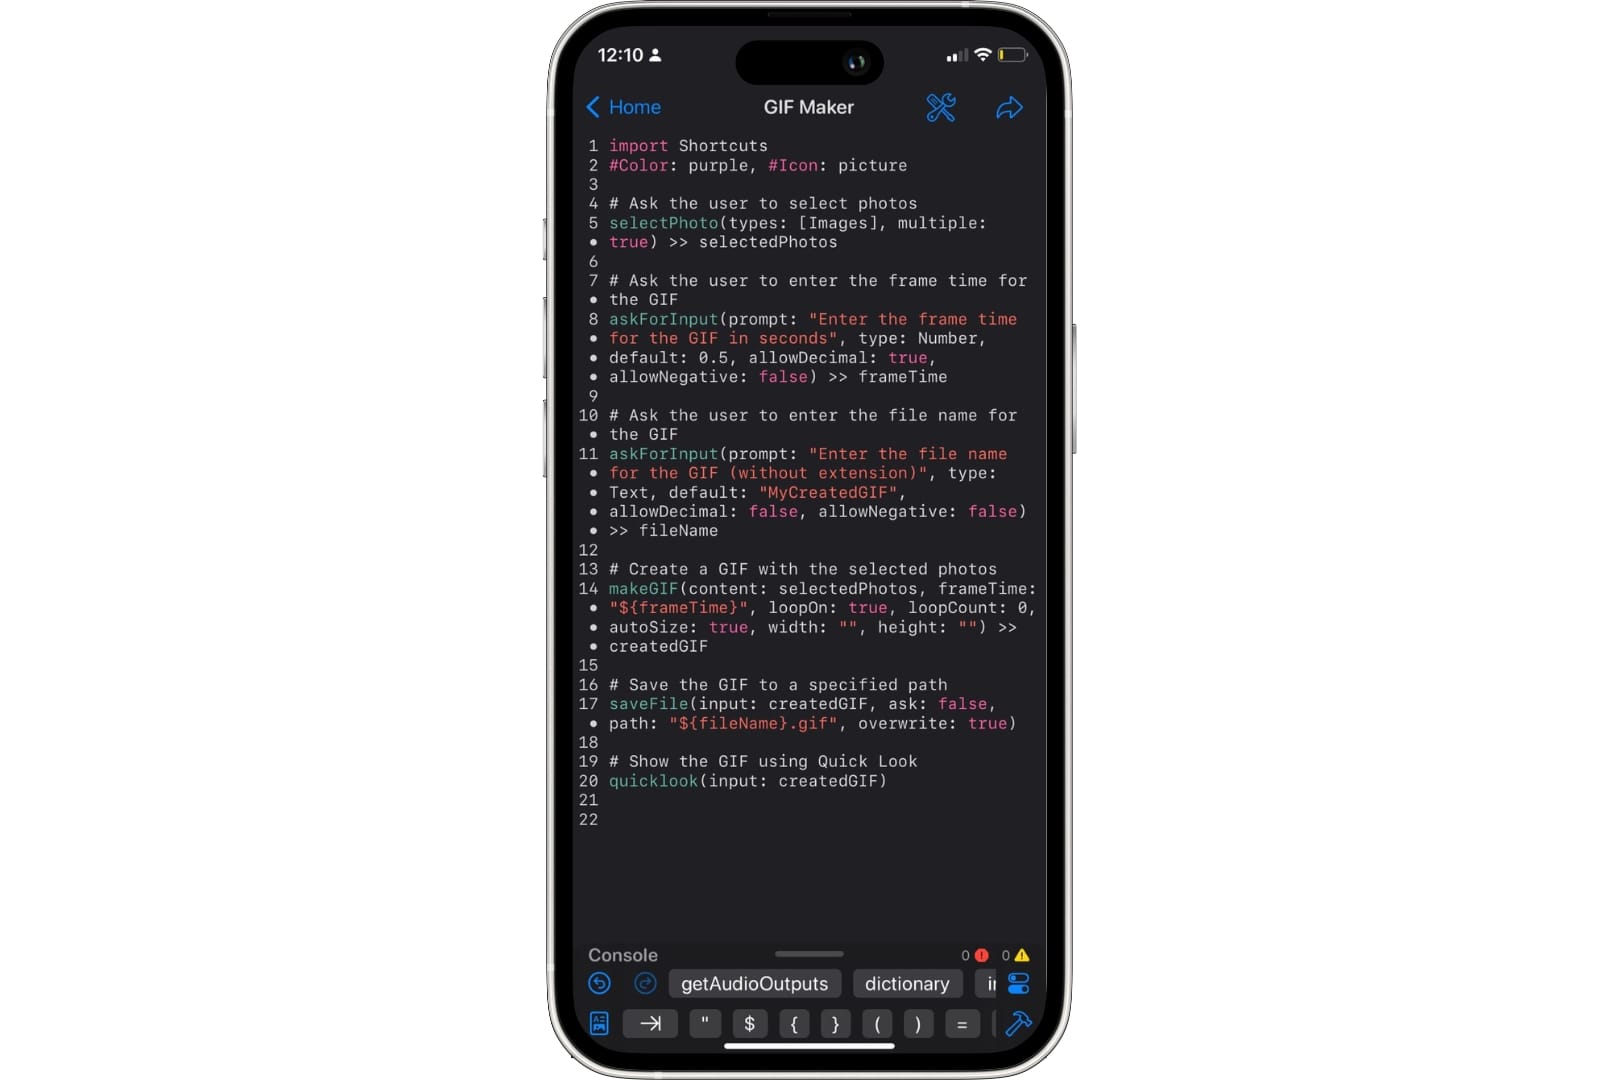
Copy and paste the following code into the Jellycuts editor, and follow the explanations provided (i also leave the whole code copy-ready at the end of the article if you just want to try it):
import Shortcuts
#Color: purple, #Icon: picture
Explanation: This code imports the necessary functions from the Shortcuts library and sets the color and icon for the shortcut.
# Ask the user to select photos
selectPhoto(types: [Images], multiple: true) >> selectedPhotos
Explanation: The selectPhoto action asks the user to select multiple photos of type Images. The selected photos are stored in the selectedPhotos variable.
# Ask the user to enter the frame time for the GIF
askForInput(prompt: "Enter the frame time for the GIF in seconds", type: Number, default: 0.5, allowDecimal: true, allowNegative: false) >> frameTime
Explanation: The askForInput action asks the user to enter the frame time for the GIF in seconds. The entered value is stored in the frameTime variable.
# Ask the user to enter the file name for the GIF
askForInput(prompt: "Enter the file name for the GIF (without extension)", type: Text, default: "MyCreatedGIF", allowDecimal: false, allowNegative: false) >> fileName
Explanation: The askForInput action asks the user to enter the file name for the GIF. The entered value is stored in the fileName variable.
# Create a GIF with the selected photos
makeGIF(content: selectedPhotos, frameTime: "${frameTime}", loopOn: true, loopCount: 0, autoSize: true, width: "", height: "") >> createdGIF
Explanation: The makeGIF action creates a GIF with the selected photos and the frame time provided by the user. The created GIF is stored in the createdGIF variable.
# Save the GIF to a specified path
saveFile(input: createdGIF, ask: false, path: "${fileName}.gif", overwrite: true)
Explanation: The saveFile action saves the created GIF to the specified path with the user-provided file name, adding the ".gif" extension. The overwrite option is set to true to overwrite any existing file with the same name.
# Show the GIF using Quick Look
quicklook(input: createdGIF)
Explanation: The quicklook action displays the created GIF using Quick Look, allowing the user to preview the GIF.
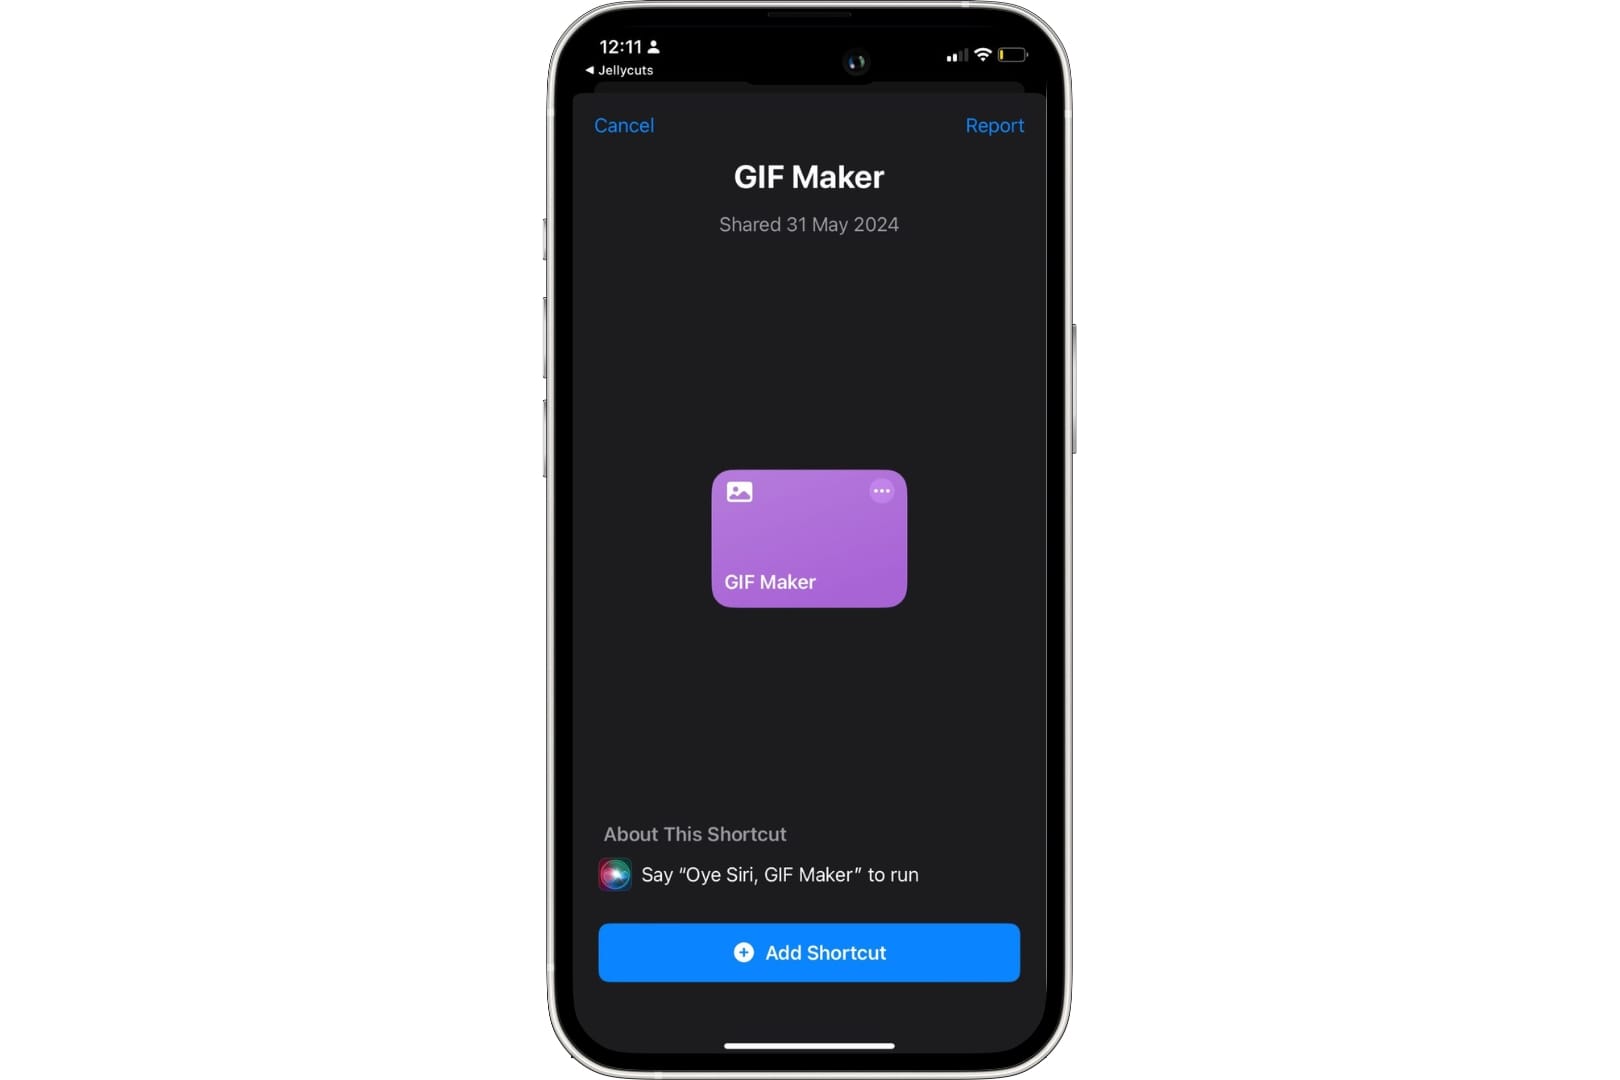
Step 4: Export and Test the Shortcut
Export the Shortcut:
- Tap the arrow icon in the top right corner of the screen in Jellycuts.
- This will export the Jellycut to Apple Shortcuts.
- Open the Apple Shortcuts app and verify that the "GIF Creator" shortcut is available.
Run the Shortcut:
- Open the Apple Shortcuts app.
- Run the "GIF Creator" shortcut.
- Follow the on-screen instructions:
- Select the photos you want to include in the GIF.
- Enter the frame time for the GIF.
- Enter the file name for the GIF.
- The GIF will be created, saved, and displayed using Quick Look.
Conclusion
Jellycuts is an incredibly versatile tool that can help you to make apple shortcuts in the easiest way possible. Creating custom GIFs is just one of the many possibilities. Explore more actions and combinations to discover everything you can do with Jellycuts.
Complete Code for Copying:
import Shortcuts
#Color: purple, #Icon: picture

# Ask the user to select photos
selectPhoto(types: [Images], multiple: true) >> selectedPhotos

# Ask the user to enter the frame time for the GIF
askForInput(prompt: "Enter the frame time for the GIF in seconds", type: Number, default: 0.5, allowDecimal: true, allowNegative: false) >> frameTime

# Ask the user to enter the file name for the GIF
askForInput(prompt: "Enter the file name for the GIF (without extension)", type: Text, default: "MyCreatedGIF", allowDecimal: false, allowNegative: false) >> fileName

# Create a GIF with the selected photos
makeGIF(content: selectedPhotos, frameTime: "${frameTime}", loopOn: true, loopCount: 0, autoSize: true, width: "", height: "") >> createdGIF

# Save the GIF to a specified path
saveFile(input: createdGIF, ask: false, path: "${fileName}.gif", overwrite: true)

# Show the GIF using Quick Look
quicklook(input: createdGIF)
I hope you found this article helpful. Enjoy creating your personalized GIFs with Jellycuts.