How to Encode Images in Base64 Using Jellycuts
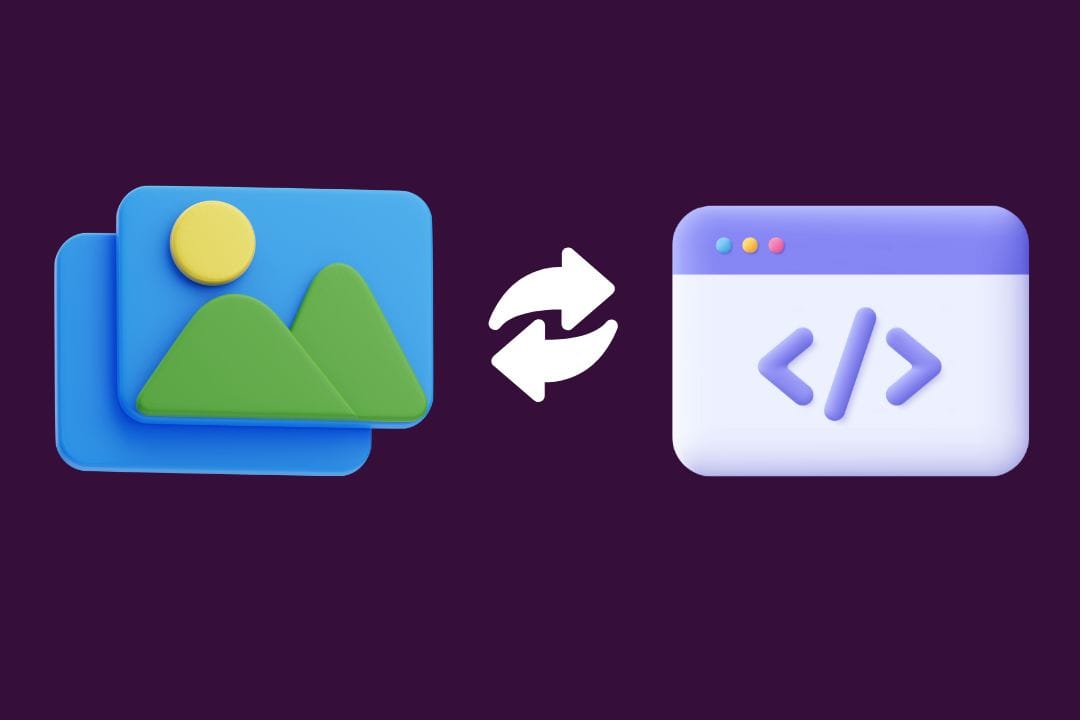
In this post, we will show you how to encode images in base64 using Jellycuts, a powerful tool for creating shortcuts from code on Apple devices.
The idea for this shortcut came after reading this Reddit post, where a shortcut for converting images to base64 was discussed. We realized that creating this shortcut in Jellycuts would be quite simple and useful, so we decided to share the process with the community.
If you are a shortcuts enthusiast and want to learn something new, keep reading!
What is Base64 Encoding?
Base64 encoding is a way to convert binary data (like images) into a text string that can be easily transmitted over text-handling media (like emails and web forms). It is very useful when you need to embed an image directly in HTML or JSON code.
Tutorial: Encode an Image in Base64
Below, we show you how to create a shortcut in Jellycuts to encode an image in base64 and display the result.
Step-by-Step Code Creation
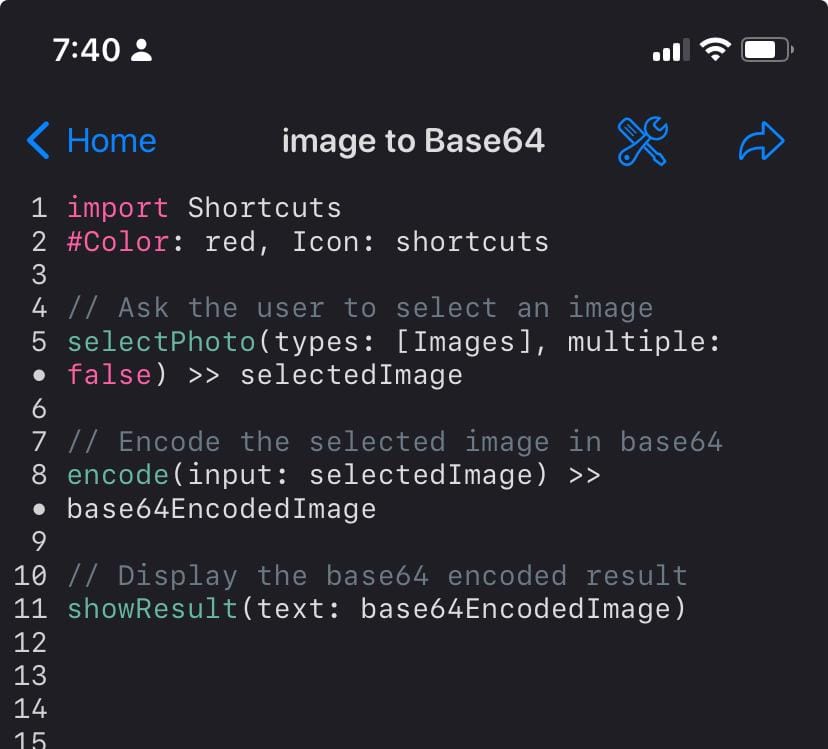
Step 1: Import Shortcuts Module
First, import the necessary module to use shortcut functions.
import Shortcuts
Step 2: Customize the Shortcut Appearance
Customize the color and icon of the shortcut for easy identification.
#Color: red, Icon: shortcuts
Step 3: Ask the User to Select an Image
Ask the user to select an image. The selected image will be saved in the selectedImage variable.
selectPhoto(types: [Images], multiple: false) >> selectedImage
Step 4: Encode the Selected Image in Base64
Encode the selected image in base64 and save the result in the base64EncodedImage variable.
encode(input: selectedImage) >> base64EncodedImage
Step 5: Display the Base64 Encoded Result
Display the base64 encoded result in a result window.
showResult(text: base64EncodedImage)
Complete Code for Easy Copying
Here is the complete code, ready to be copied and used in Jellycuts:
import Shortcuts
#Color: red, Icon: shortcuts

// Ask the user to select an image
selectPhoto(types: [Images], multiple: false) >> selectedImage

// Encode the selected image in base64
encode(input: selectedImage) >> base64EncodedImage

// Display the base64 encoded result
showResult(text: base64EncodedImage)
Step 6: Run the Script
Save the script in Jellycuts and export to shortcuts app.
You will be asked to select an image. Once selected, the script will encode it in base64 and display the result, where you can save it as a file or copy it to the clipboard.
Practical Applications
Base64 encoding has many applications, such as embedding images in HTML or JSON, sending binary data through web APIs, or simply storing images in text format. For example, as mentioned in the Reddit post, GiantREBAfan used this technique to create a financial shortcut with custom icons embedded using base64 encoding. This was a unique and practical case that showcased the versatility of base64 encoding in shortcuts. With this shortcut, you can achieve similar results directly from your iOS device.
Final Thoughts
And there you have it! You have created a shortcut in Jellycuts that encodes images in base64 and displays the result. We hope this tutorial has been helpful and that you find many creative ways to use this technique in your own shortcuts.